Make Everyday Home Routines Easier with eWeLink
Control, automate, and share your home more easily with eWeLink.

So you’ve picked up your first smart device—maybe a smart plug, a light switch, or a temperature sensor. It’s sitting on your table, and you’re wondering, what do I do next?
Good news: setting up a smart home is much easier than you think. And you don’t need to be tech-savvy to get started.
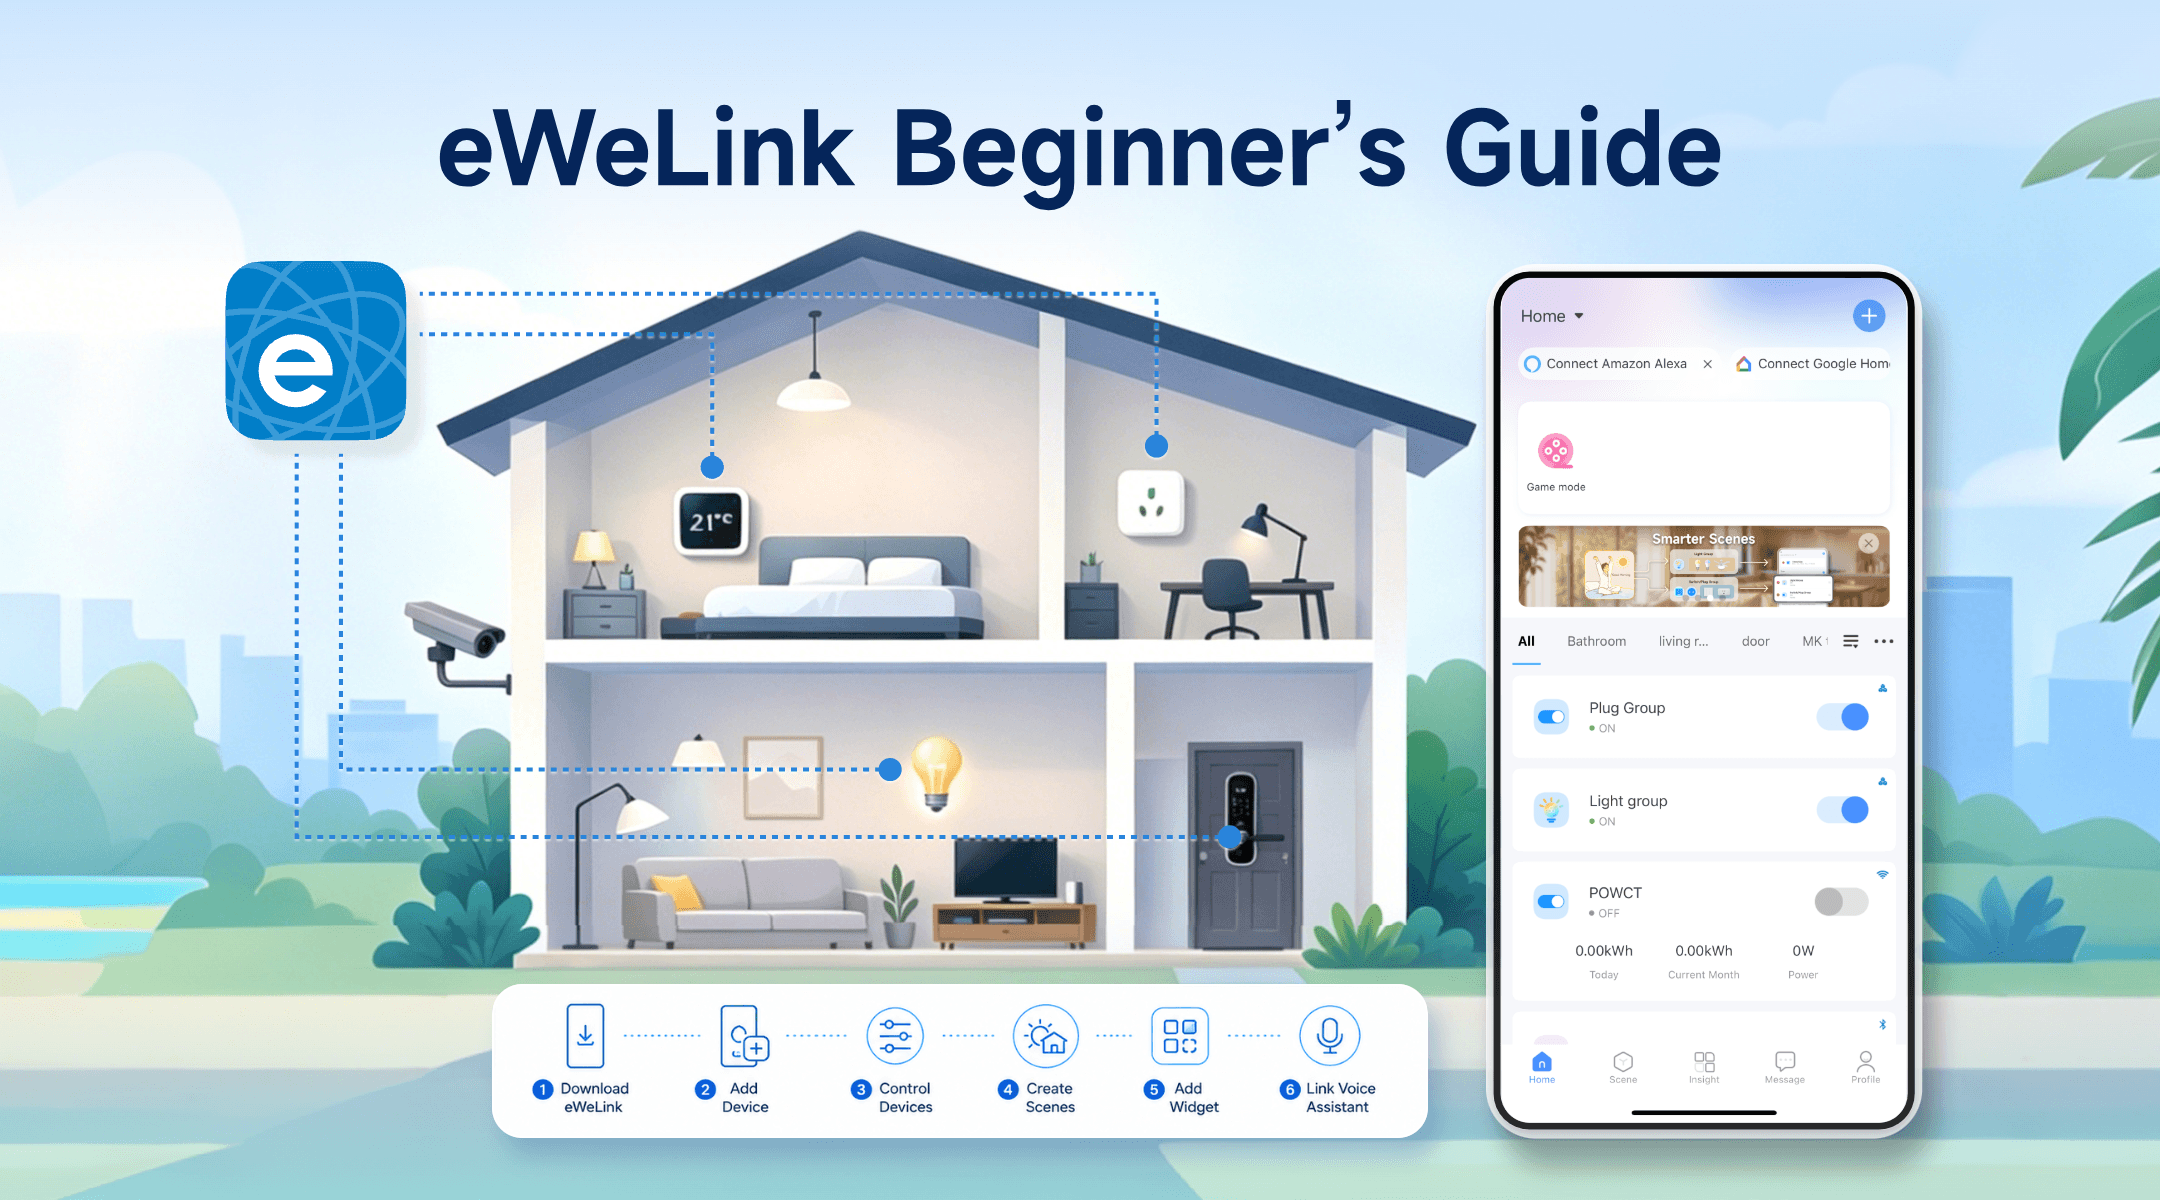
Here’s the simple version: power on the device → open the eWeLink app → add it with a few taps → create your first automation. That’s it. You’ll have a working smart home.
Let’s start with your first device.
A quick checklist to make setup go smoothly:
The eWeLink app will guide you through each step — this just helps you avoid getting stuck halfway.
If you haven’t already, download the eWeLink app from the App Store or Google Play. Open it and create a free account — all you need is an email address or phone number.
Once you’re in, you’ll see your home screen. If this is your first time using eWeLink, it may look empty for now — but that’s about to change.
Open the eWeLink app and tap the “+” button in the top-right corner of the Home screen. Then choose “Add Device” or the available pairing option shown in the app.
For many Wi-Fi devices, you’ll be asked to select a 2.4GHz Wi-Fi network and enter the password. Make sure your smart device is in pairing mode, then follow the on-screen instructions.
If your device does not appear automatically, check the app for other pairing methods, such as Bluetooth pairing, compatible pairing, QR code scanning, or other device-specific options.
For Matter devices, scan the Matter setup code on the device, in the packaging, or in the manual. For Zigbee devices, add them through a compatible Zigbee gateway or bridge according to the product instructions.
Once your device is added, you’ll see it on the eWeLink Home screen.
Tap the device card to open its control page. Depending on the device type, you may be able to turn it on or off, adjust brightness, check sensor status, or access more settings.
The home screen is also where you manage your devices day to day. You can switch between rooms, manage your room list, search for a device, hide offline devices, reorder devices, or change the device list layout.
If you have multiple supported devices of the same type, you can also create a device group from Device Settings > Create Group. Devices in the same group can be controlled together and stay in sync, making it easier to manage several lights, plugs, or switches at once.
That’s your first smart control — no more walking across the room just to flip a switch. And as you add more devices, the Home screen will become your main place to organize and control them.
This is where smart homes get interesting. Instead of tapping buttons manually, you can tell eWeLink when to do things for you.
Open the eWeLink app > Go to “Scene” > Tap “+” to create a new scene.
Try this beginner-friendly automation:
“Sunset Lights” — When the sun sets, turn on your living room light automatically.
Save the smart scene, and your light will turn on automatically at sunset.
Tip: Sunrise and sunset scenes may require location permission so eWeLink can calculate the correct time for your area.
Want to control your devices without opening the app? Add a widget to your home screen.
On iOS: Long-press your home screen > Tap Edit and choose Add Widget > Search for “eWeLink” > Choose a widget type > Add it.
On Android: Long-press your home screen > Tap “Widgets” > Find “eWeLink” > Select a widget for your home screen.
Once set up, you can control supported devices or run manual scenes right from your home screen.
If you use Alexa, Google Assistant, or Siri, you can also control eWeLink-supported devices by voice.
In the eWeLink app, go to Profile and look for the voice assistant or third-party platform options available for your account and region. You can also connect supported platforms from the Home screen: tap “+” > Add Device, then tap the link icon in the top-right corner to open Third-party platform.
Select the assistant or platform you use, such as Amazon Alexa or Google Home, and follow the linking steps.
Once linked, try a simple command such as the following:
“Hey Google, turn on the living room light.”
For Siri, you can also use Siri Shortcuts with supported manual scenes, depending on your setup.
Once you’ve got the basics down, here are a few ideas to explore:
Your smart home grows at your own pace. Start with one device, one scene—and add more when you’re ready.
What important features are we missing? We’d love to hear from you! Join our discussion here.
Control, automate, and share your home more easily with eWeLink.
Use eWeLink to monitor, automate, and reduce wasted electricity at home.
A quick beginner’s guide to getting started with eWeLink.
Bring order to your smart home with effortless scene organization.