Table of Contents
eWeLink CUBE Add-ons
How to install an Add-on?
Run the add-on
How to install an Add-on?
Preparation
1. Insert a TF card to the hardware (iHost).
TF Card Requirements:
Sequential Write Speed: Above Class 10
Memory Capacity: Above 64G (Recommend)
Cannot be loop partition, if it is, must be formatted to other types and then come back to iHost to format.
2. Click “Format” to erase all data in the TF card.
3. After “Formatted successfully”, you can install add-ons.
Installation
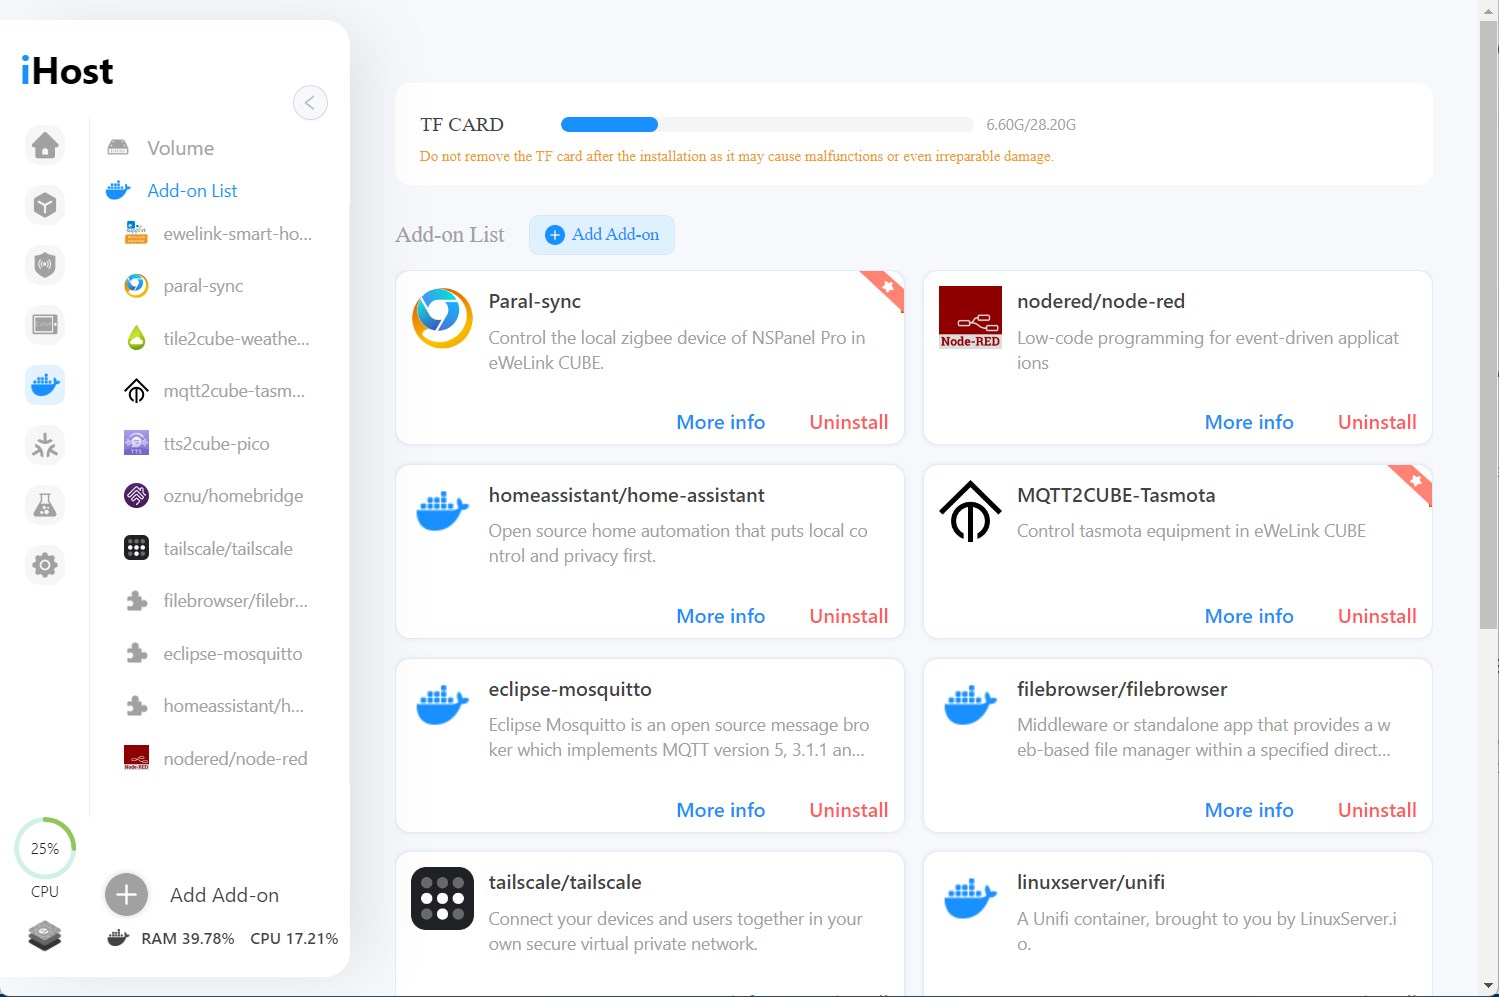
1. Navigate to ‘Docker’ (add-on) menu, click the ‘Add add-on’ button.
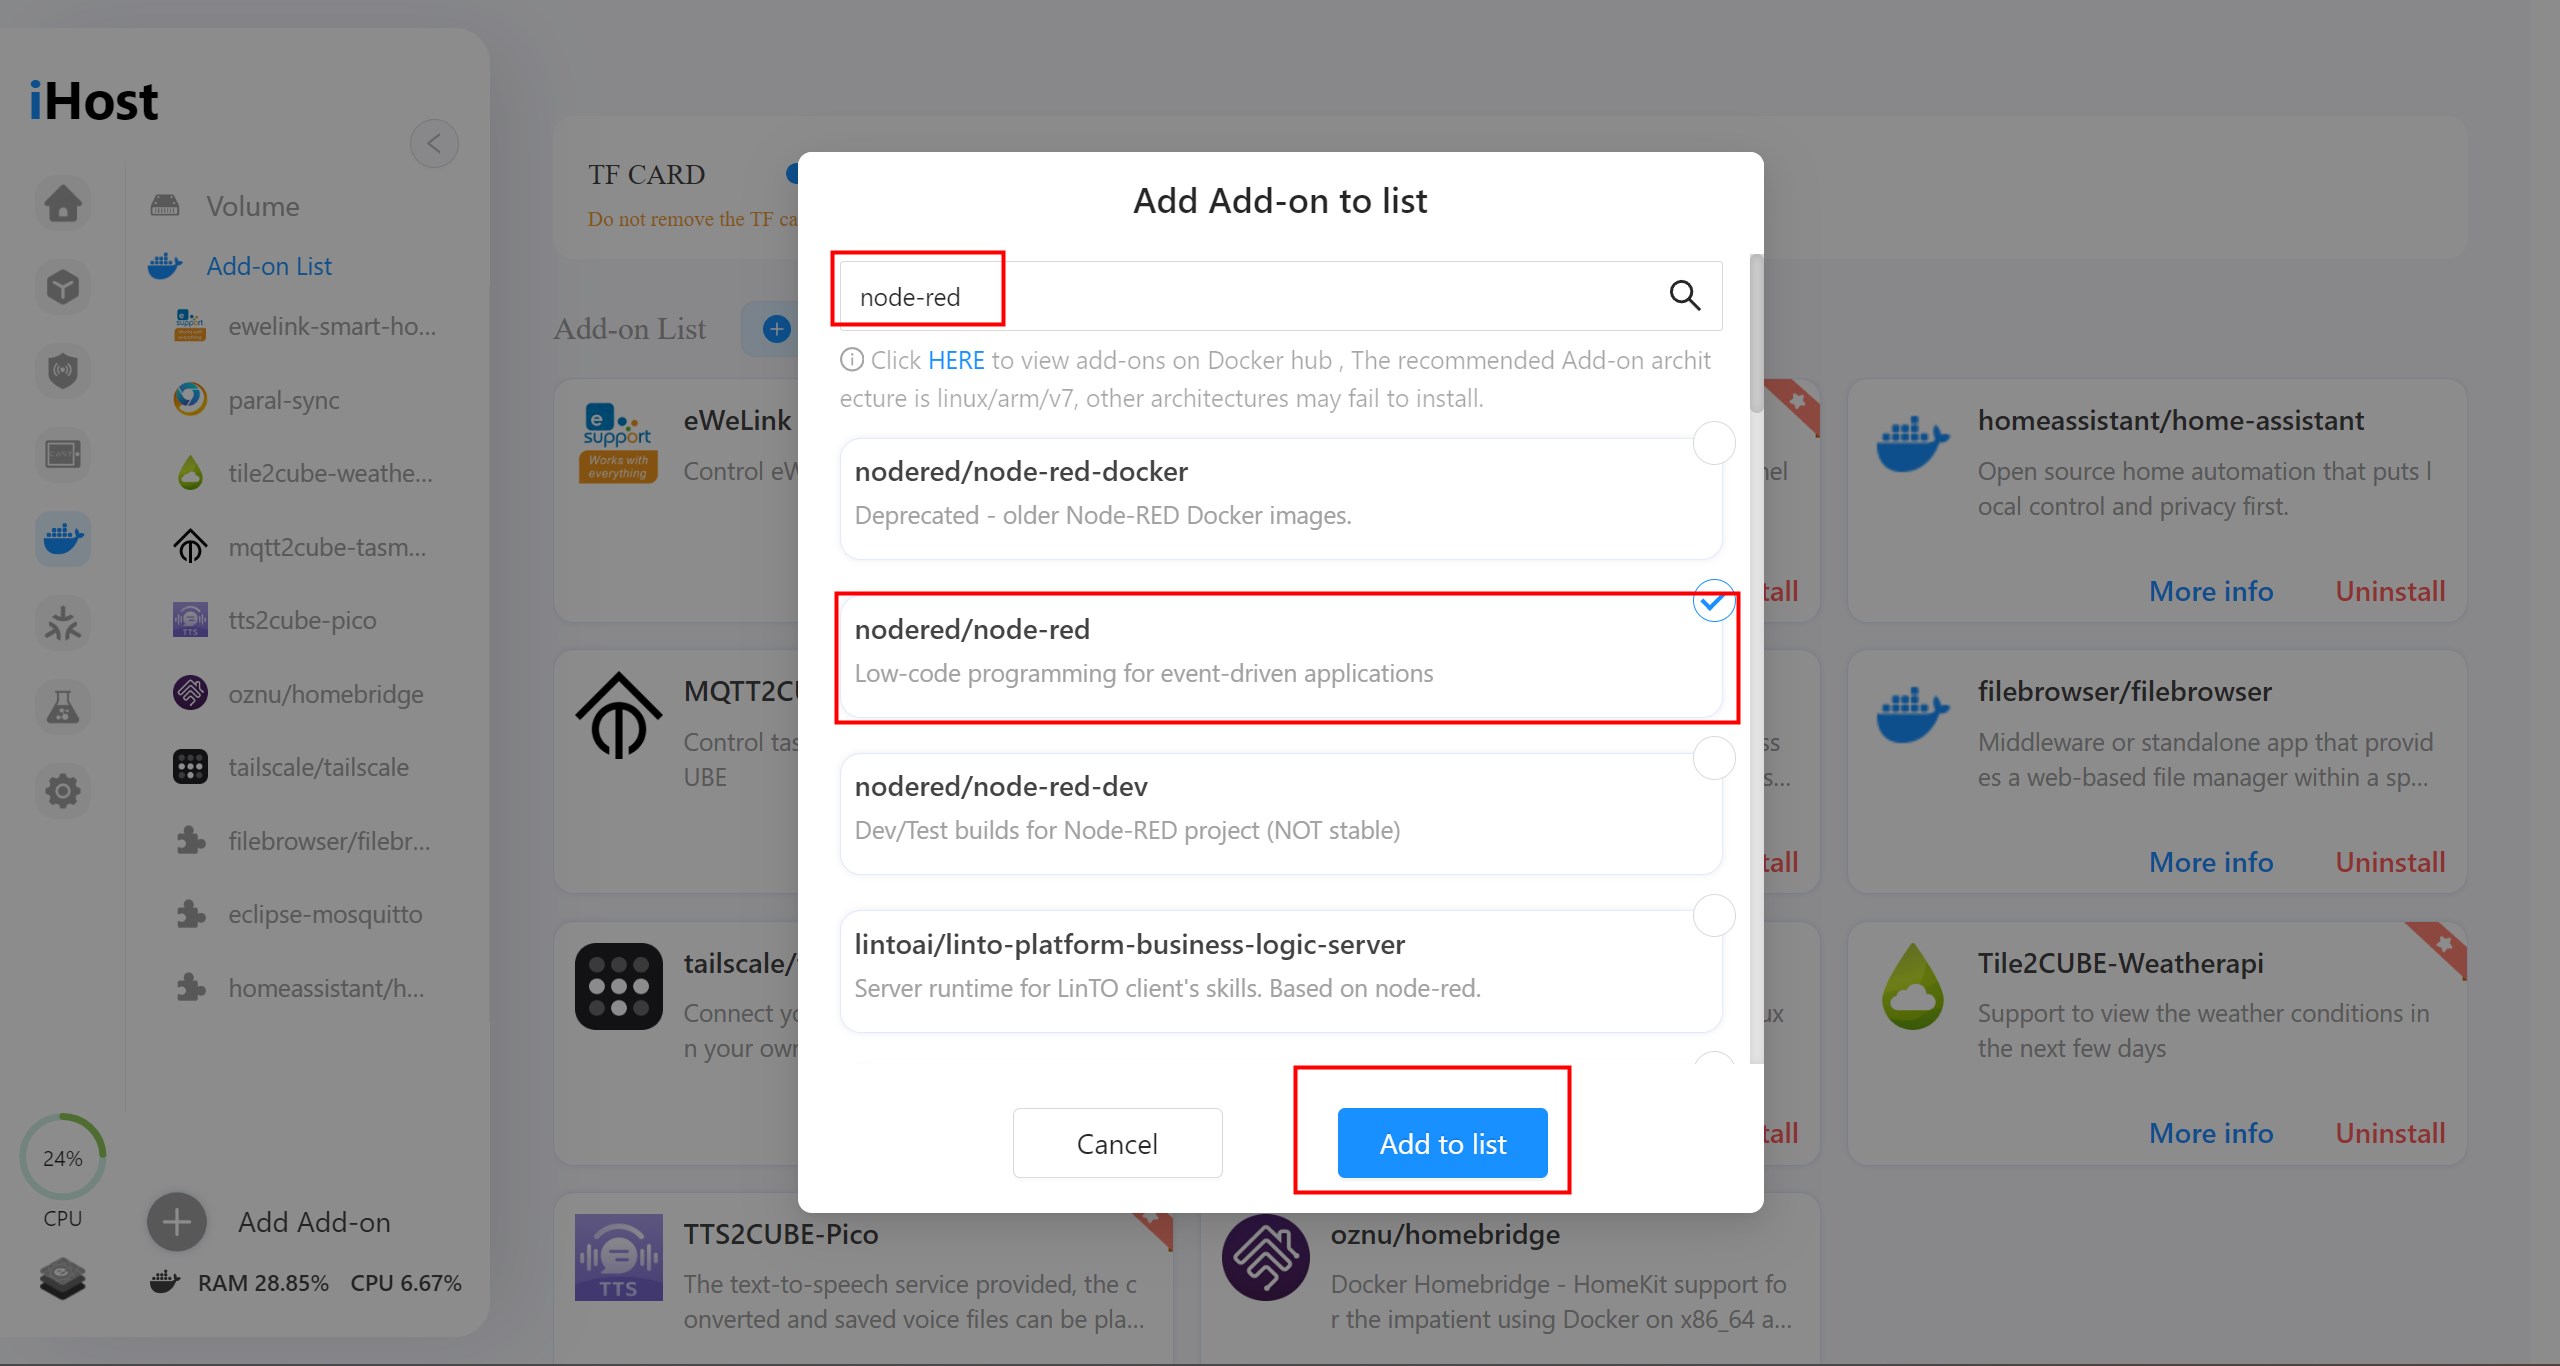
2. Search for the add-on
3. Select the add-on
4. Click ‘Add to list’
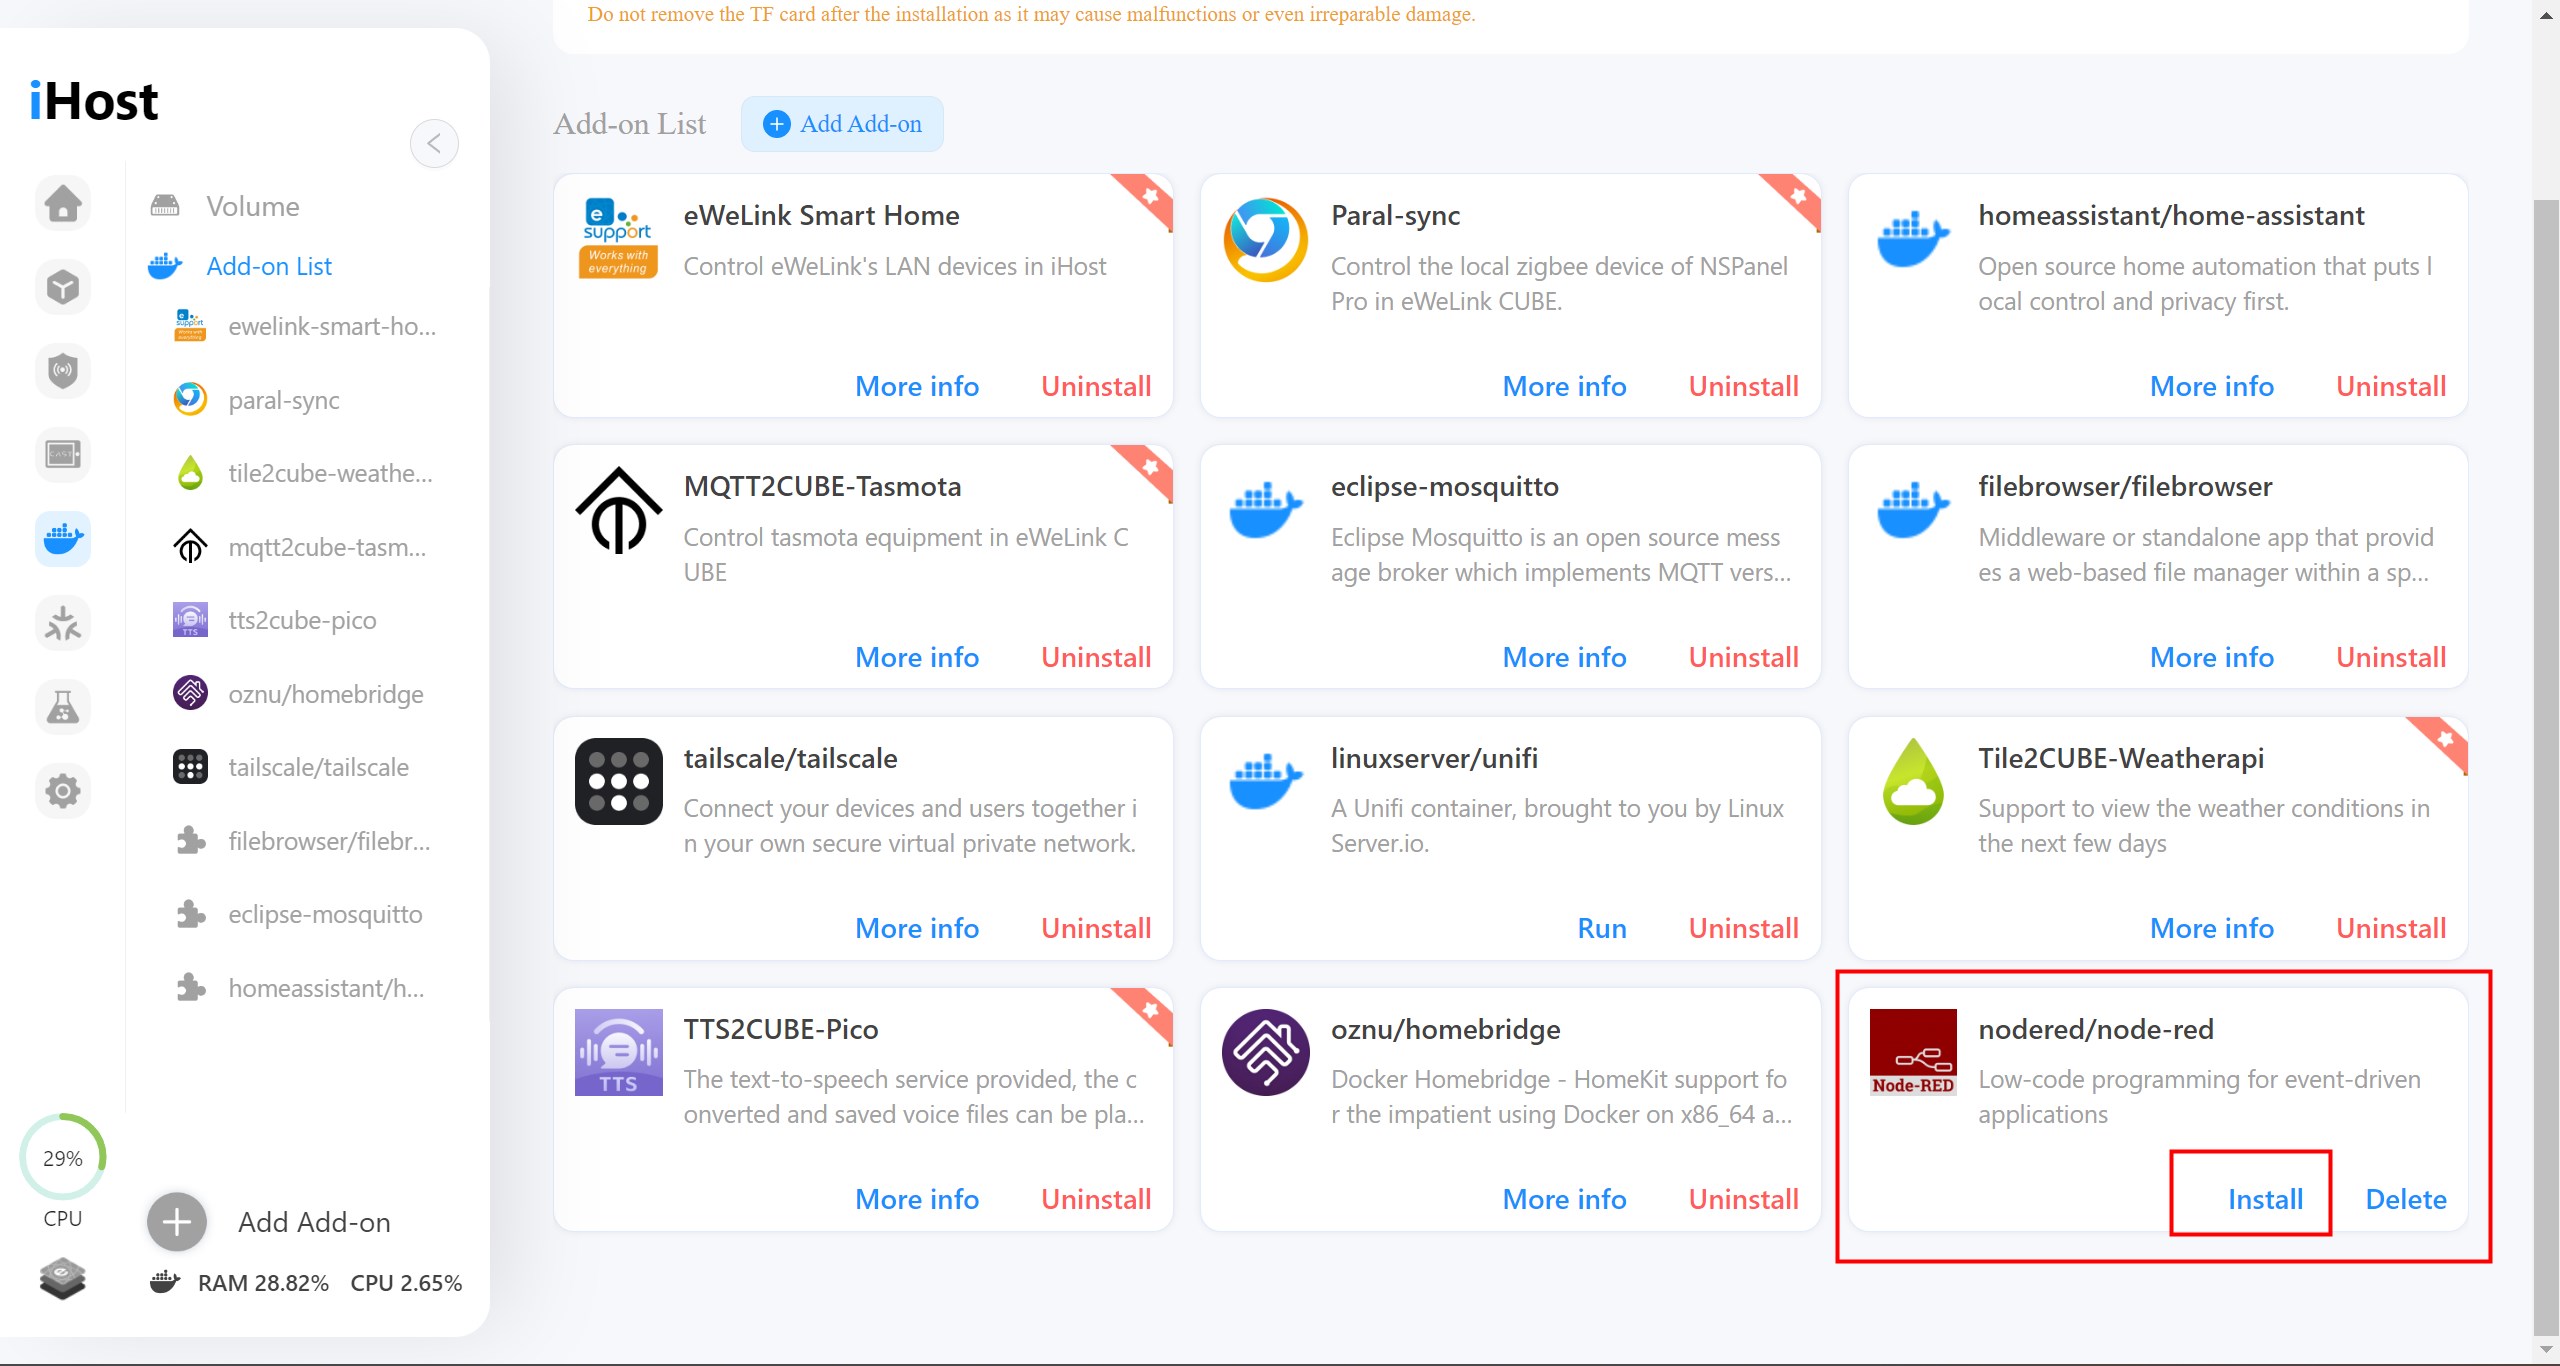
5. Click ‘Install’
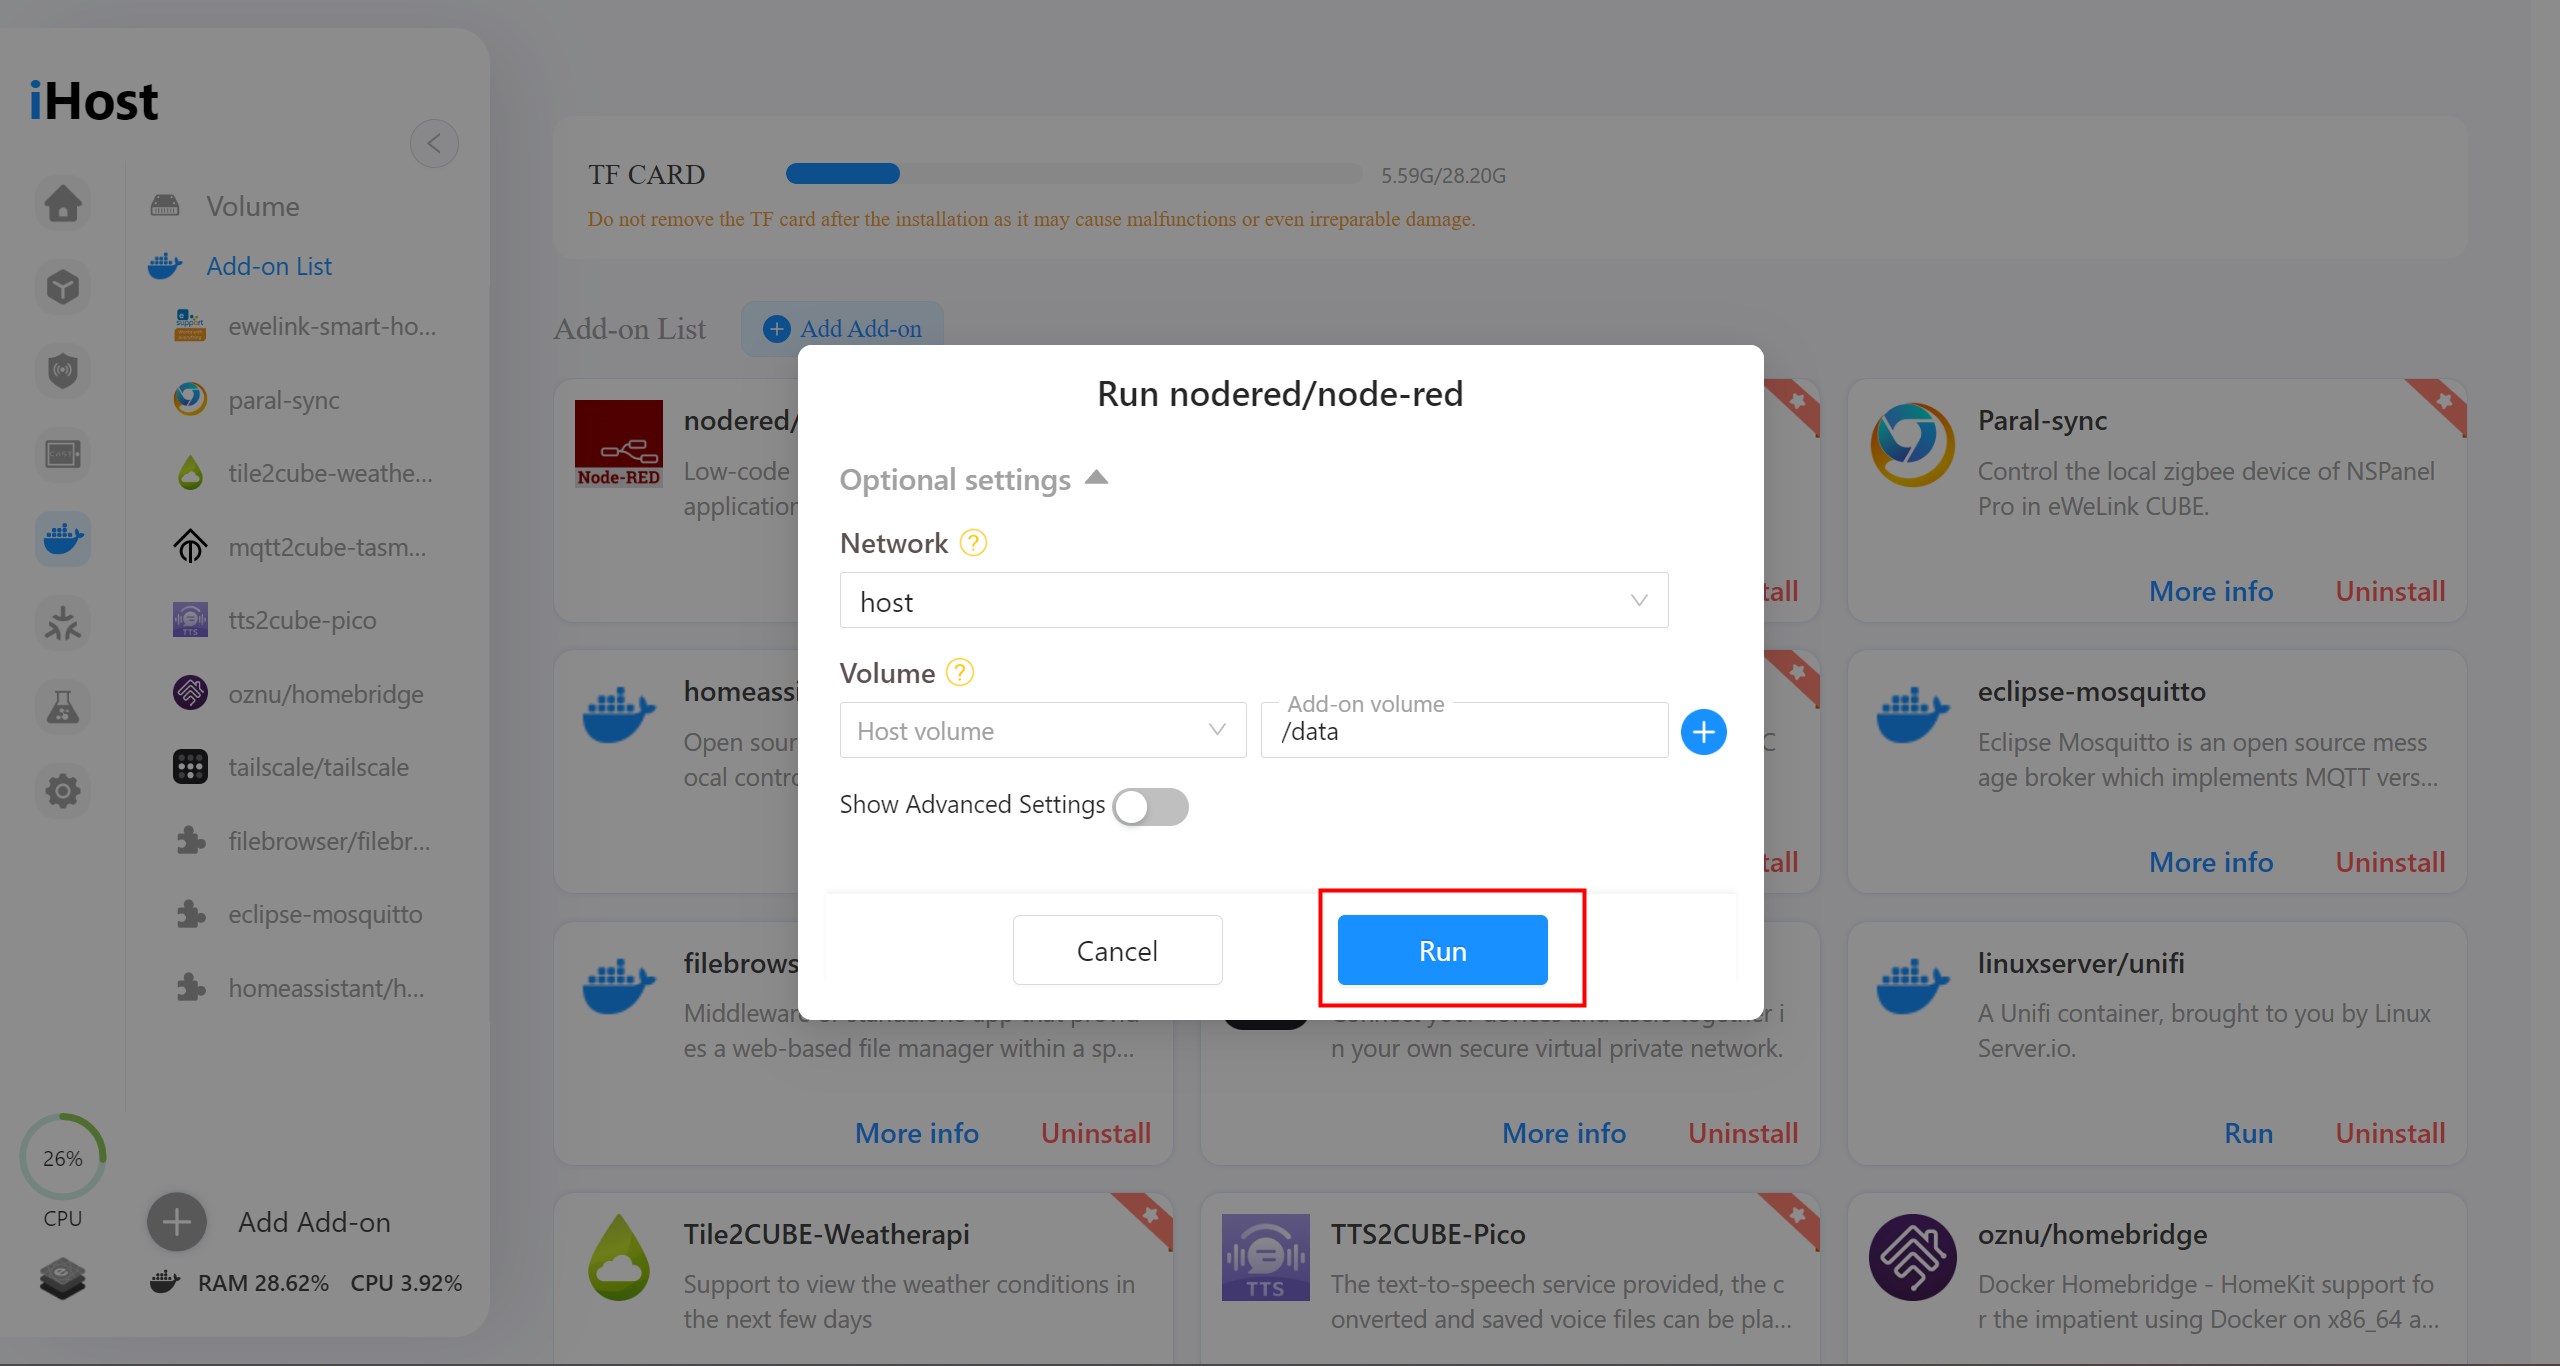
Run the add-on
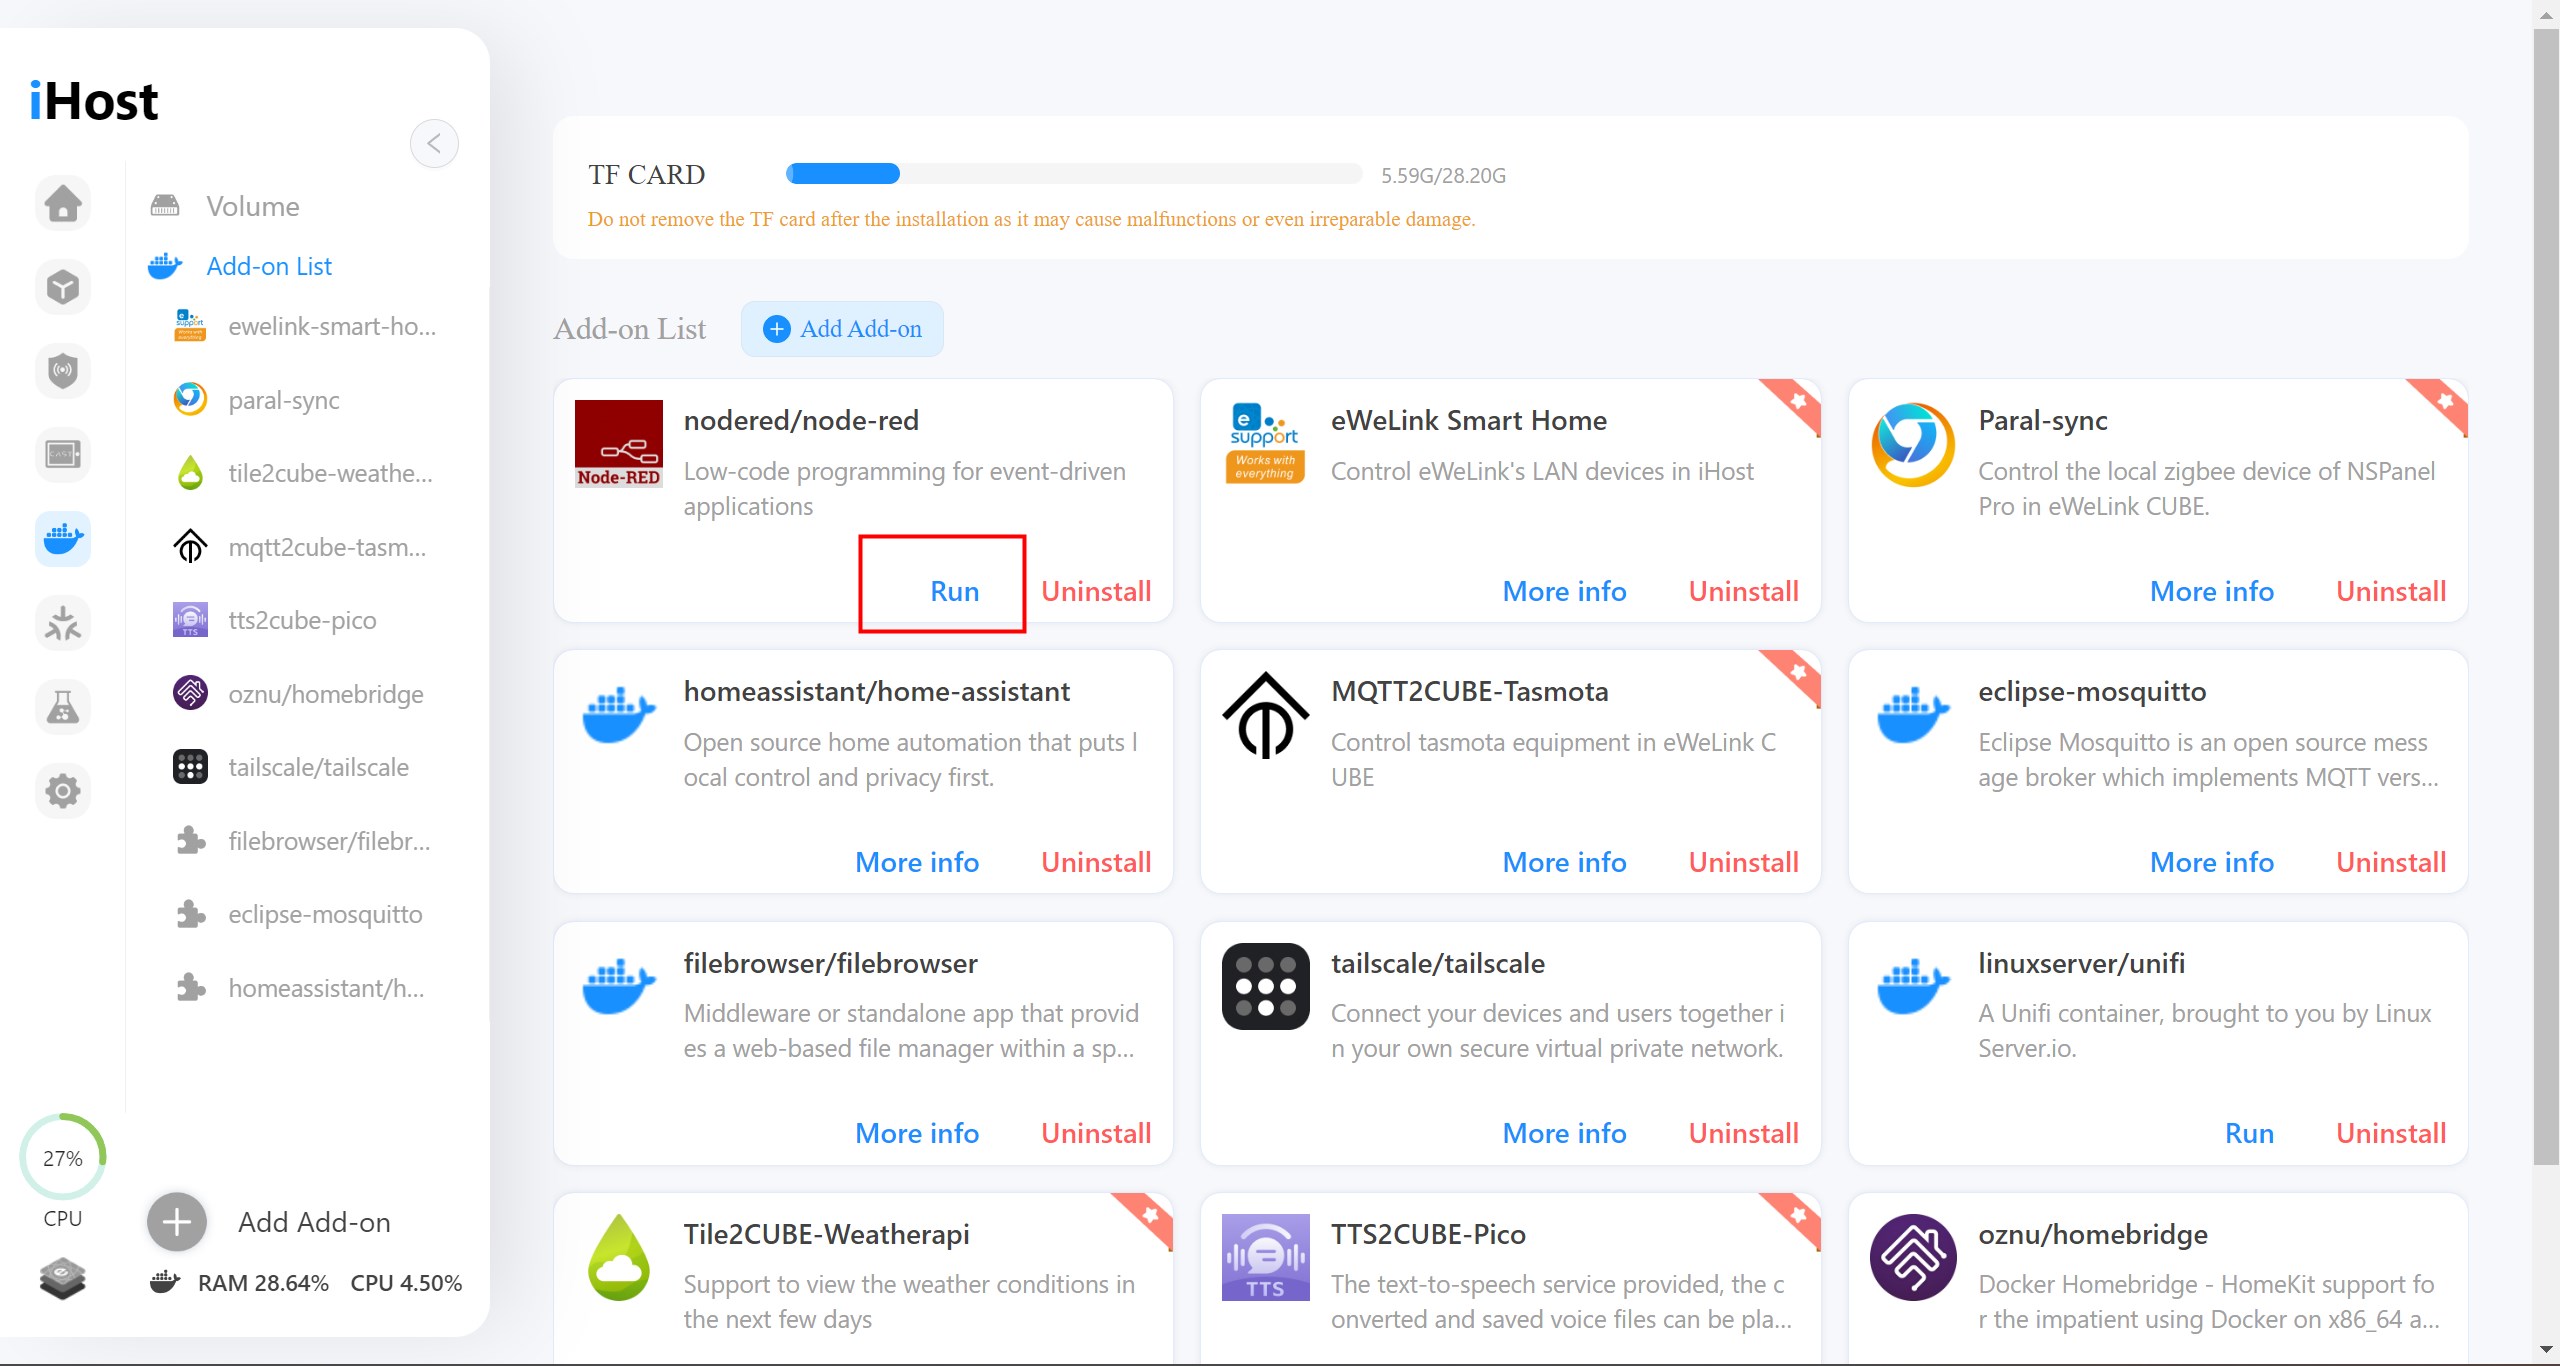
1. Click ‘RUN’ to run the add-on
2. Fill in other settings if you need. (refer to the guide/document of the add-on) It is suggested to keep them default.
3. Click ‘RUN’ to run the add-on
Popular add-ons and Guide
Here are some of the more popular add-ons, click on the name to view detailed tutorial.
Add-on Name | Developer | Description |
| eWeLink | Sync eWeLink supported devices to CUBE and control them. |
| HomeBridge | Allows you to integrate with smart home devices that do not natively support HomeKit. GitHub |
| OpenJS Foundation | Low-code programming for event-driven applications. About |
Paral-Sync | eWeLink | Sync your NSPanel Pro’s sub-devices to eWeLink CUBE. |
MQTT2CUBE-Tasmota | eWeLink | Tasmota add-on allows you to sync tasmota devices to iHost for control. |
Tile2CUBE-WeatherAPI | eWeLink | Display the weather in iHost and CAST. |
TailScale | eWeLink | Remote access to CUBE powered device. |
TTS2CUBE-Pico | eWeLink | Transfer text to speech, allow CUBE powered device to play custom audio. |
More add-ons coming soon.
*If you would like to create an add-on for all CUBE users as a developer, please contact us at [email protected] or refer to the Open API document.

