Compare Temp.&Hum. Difference: Enhanced Comfort and Energy Efficiency

Table of Contents

Creating a comfortable and energy-efficient living space is at the heart of every smart home system. Since the release of the eWeLink App V4.34, we offer the ability to allow users to set up auto scenes based on temperature and humidity differences. This advanced feature ensures your home maintains optimal conditions, keeping you comfortable and reducing energy usage. The compatible devices are TH and Zigbee temperature and humidity sensor which are commonly used smart devices. Like TH, it can not only be used as a temperature and humidity sensor, but a switch.

Let’s now dive into how users use it and how to set up such a scene for better understanding.


Use Cases

This feature is actually initiated by our users. It can be used in various scenarios. Here are a couple of use cases:

  1. Energy Efficiency: The feature can help improve energy efficiency by automatically adjusting heating and cooling systems based on temperature differences. For instance, if the temperature inside your home is much higher than the outside during the summer, such as 10 celsius degresss, the system can trigger the air conditioner to turn on to reduce the temperature difference and save energy. If it’s only 4 to 5 celsius degrees higher than in another place, turn on the ceiling fan then.
  2. Temperature Zoning: You may divide your home into zones, each with its own temperature settings. The feature can be used to keep each zone within a certain temperature range. If you have a home office and a living room, for example, the system can equalize the temperature when their temperature differs a lot.
  3. Managing Indoor Humidity: Another great use case is for managing humidity in your home. If you live in a region with high humidity, you could set up a scene that turns on a dehumidifier when the humidity difference between your indoor and outdoor sensors reaches a certain threshold.
  4. Greenhouse Climate Control: If you’re into gardening, you can use this feature to maintain optimal conditions in your greenhouse. Set a scene to start a heater if the temperature difference between the inside and outside of the greenhouse becomes too high. You could also set up a scene to start a misting system if the humidity difference exceeds a certain level.

How to Set Up the Scene

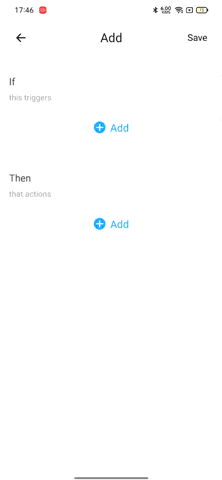
The following steps guide you to create an auto scene using the temperature and humidity difference feature:

  1. Create a New Scene: Navigate to the “Scene” tab, and then click on the ‘+’ icon to create a new scene. Now you need to set your triggers.
  2. Set Triggers: Select “Smart Devices” first, and then choose one of your TH device or Zigbee sensor, tap “Temp difference settings”, choose another compatible device to compare, and finally set a difference value. The scene will be triggered when the difference between the two measurements reaches or exceeds the defined value.
  3. Select Actions: Once you’ve set your conditions, it’s time to define what action should be taken when these conditions are met. This could be turning on a fan, an air conditioner, a dehumidifier, or a heater, depending on your trigger conditions.
  4. Save Your Scene: After setting the actions, give your scene a name and save it. Your auto scene is now ready!

Using the power of temperature and humidity differential comparison in eWeLink sceneries may not only improve your living space’s comfort but also optimise energy usage. Explore this feature to create smarter environments that are tailored to your specific requirements. Wait, don’t forget to update your eWeLink App to V4.34 and above.

Share the Post:
Related Posts

This website use cookies to ensure you get the best experience on our website.