A Comprehensive Guide to eWeLink Virtual Devices
Bridge smart home platforms and trigger entire scenes across ecosystems with a single virtual switch or button.

Introduced in eWeLink App V5.14, virtual devices are virtual switches and buttons that behave like real devices but exist only in the app, with no physical device required. They give you extra flexibility to build smarter automation routines across your home.
You can control virtual devices manually, use them in scenes, sync them with third-party platforms, or add them to widgets for quick access.
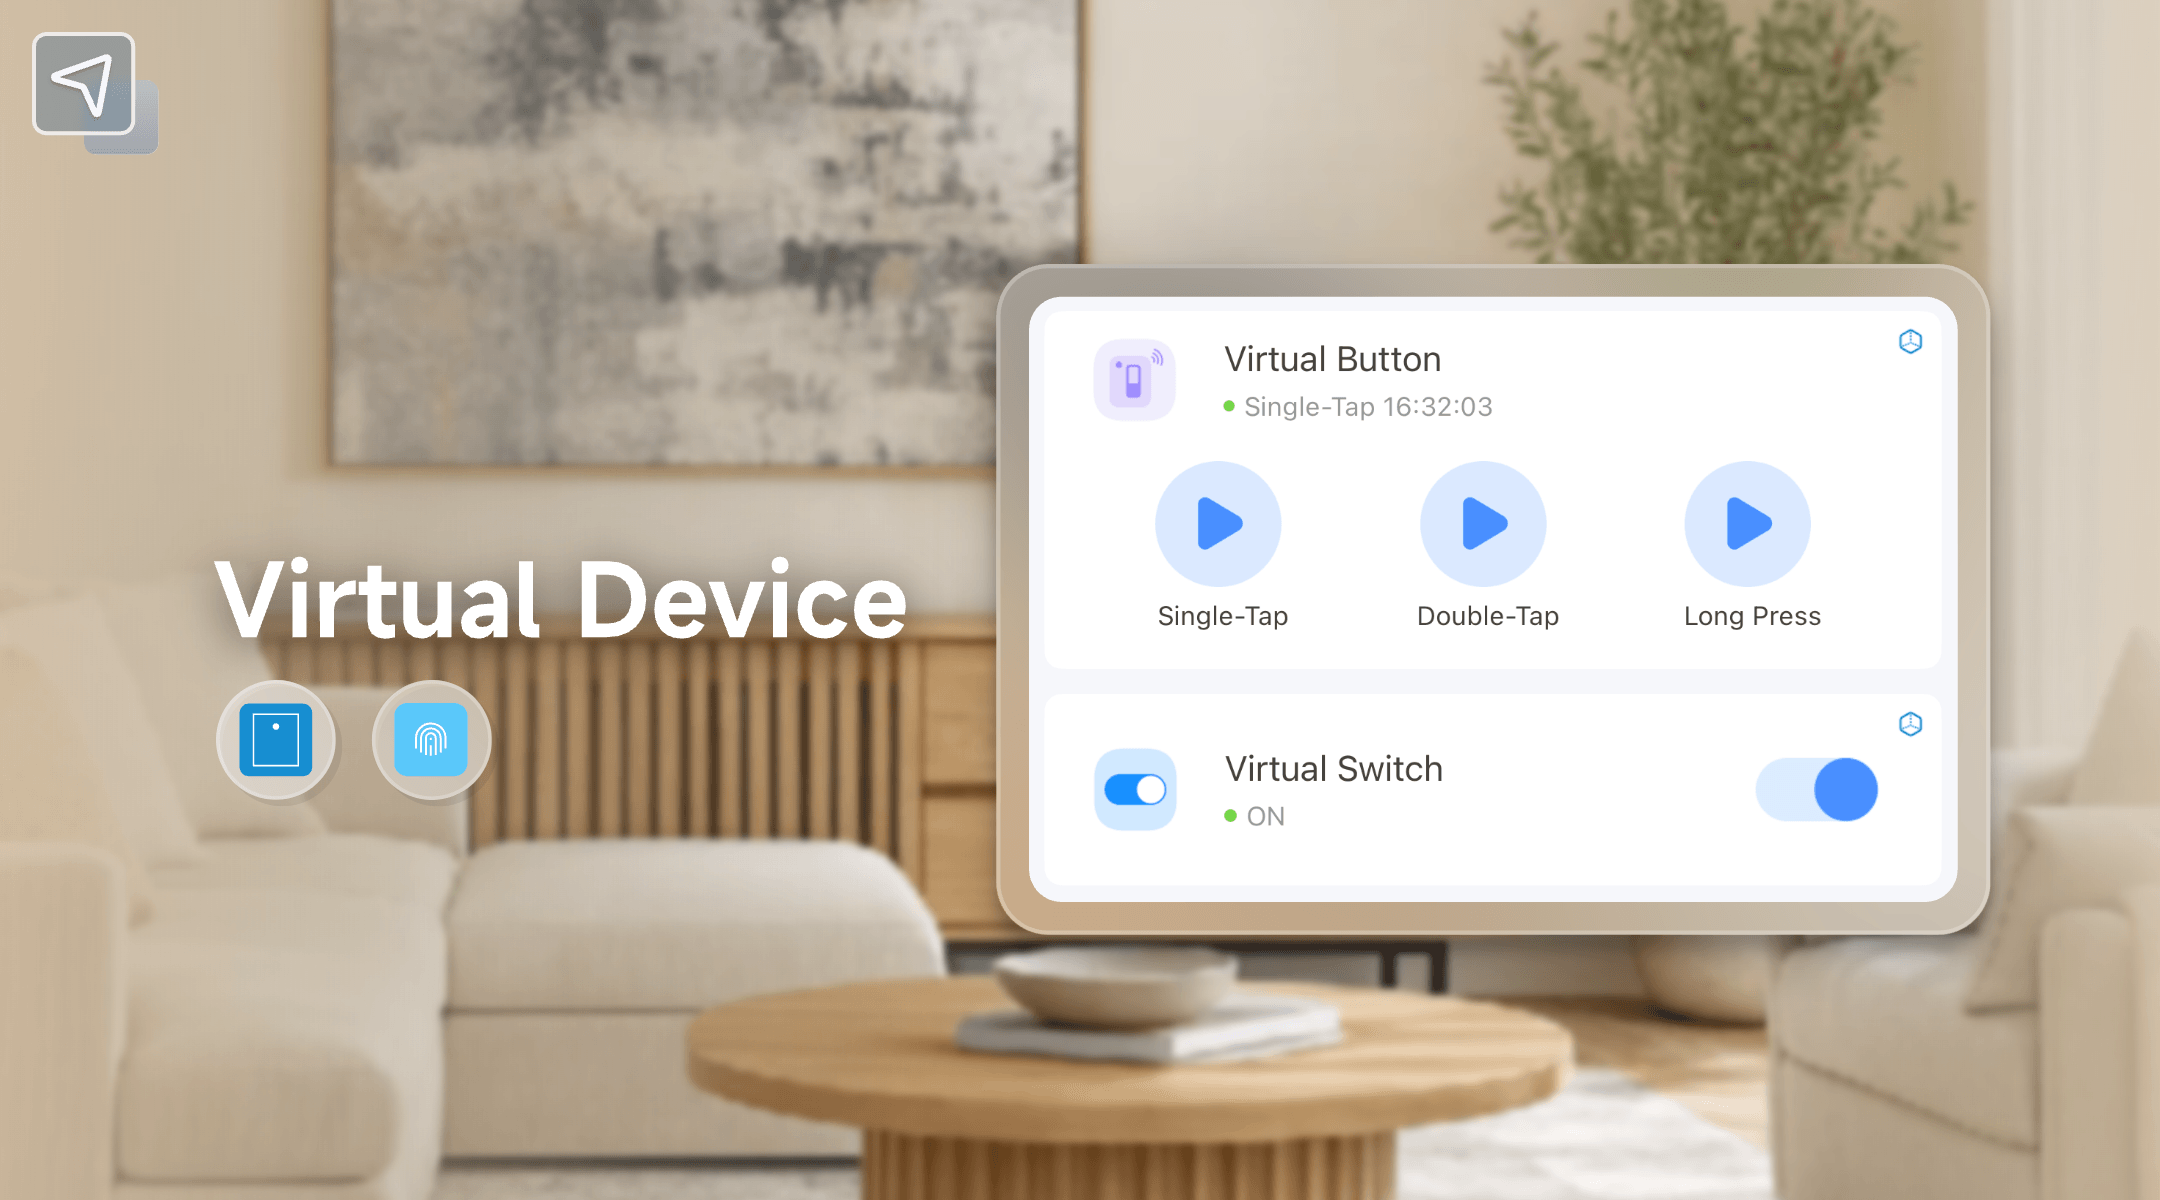
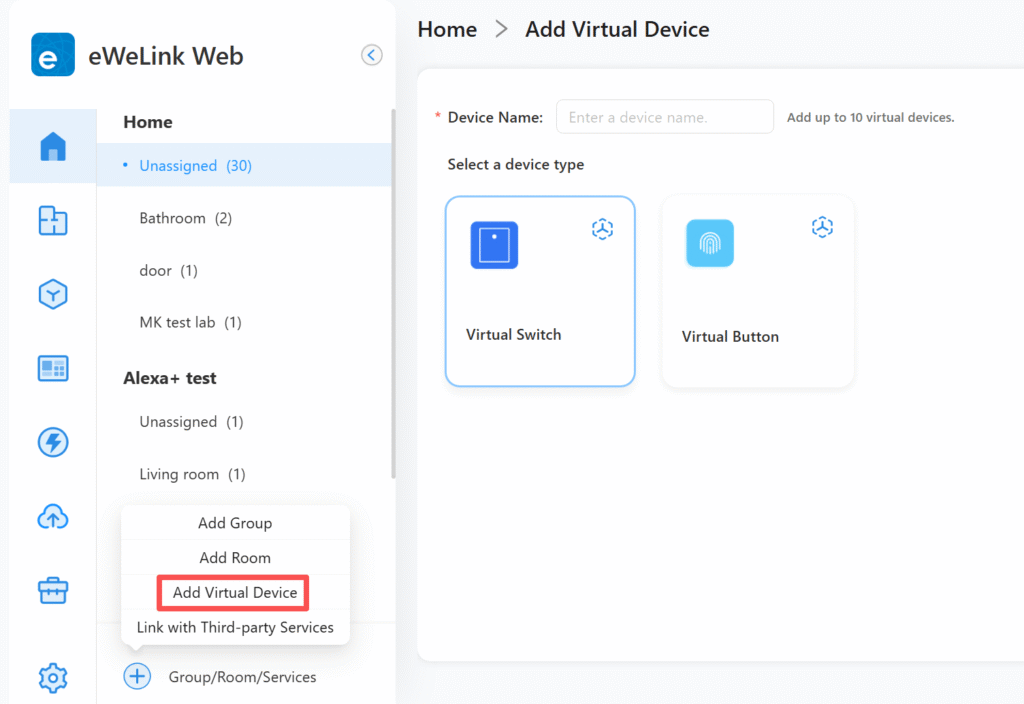
Currently, you can create two types of virtual devices:
Virtual devices are available with eWeLink membership plans. Advanced users can create up to 5 devices, and Prime users up to 10.
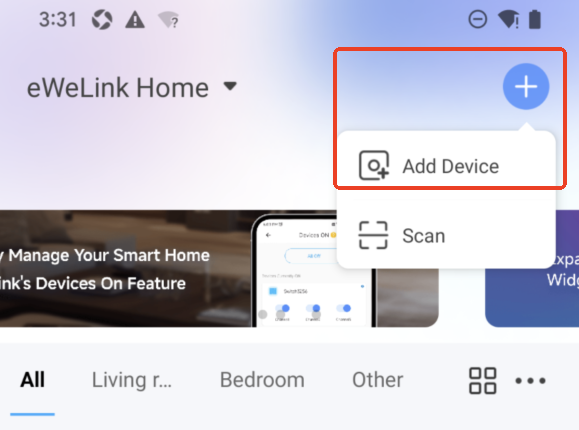
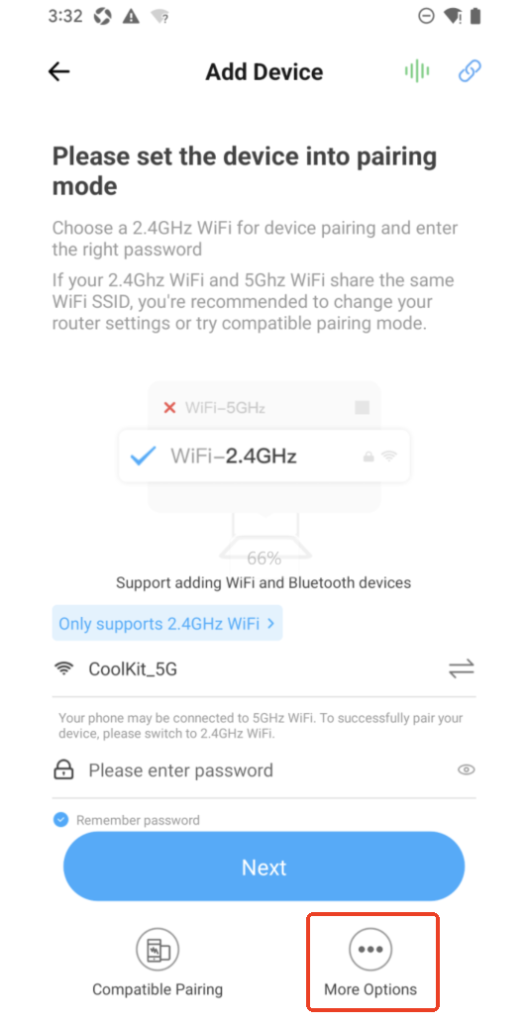
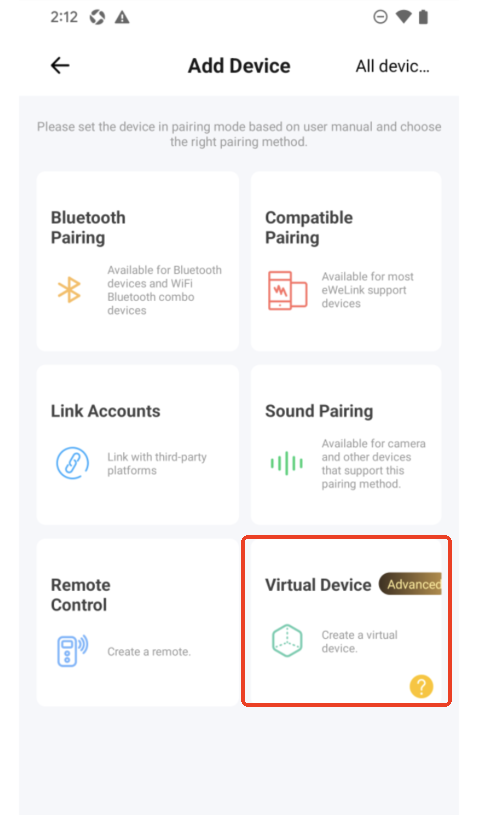
In the eWeLink App:
In eWeLink Web:
Virtual devices become powerful when used in automation and cross-platform setups.
Virtual devices can be added as triggers or actions in automation routines.
Examples:
Virtual devices can act as bridges between eWeLink and platforms like Alexa, Google Home, SmartThings, and IFTTT.
Examples:
Starting with eWeLink App V5.15, virtual devices can be placed directly on your Android or iOS home screen for one-tap access.
Example:
Since the launch of virtual devices, our community has come up with many creative ways to use them in everyday routines. Here are two real-world examples shared by users that might inspire your own automations:
One of our users has found clever ways to monitor energy usage and receive helpful reminders. For example, you can create a setup that detects when a high-power device—such as a game console, heater, or other appliance—has been running for a certain amount of time, then sends a reminder through a smart speaker.
Here’s how it works:
This creates a thoughtful system that helps manage energy usage without interrupting your activities.
Virtual devices can also act as a central control point for home security routines across eWeLink and third-party platforms. Another user shared how they use a single virtual button to manage their complete security ecosystem spanning multiple platforms.
The setup includes:
This approach allows them to activate their entire security system by voice, app, or widget—proving particularly useful when leaving home or checking security status while driving.
eWeLink virtual devices are a powerful tool for anyone looking to create more responsive, integrated, and user-friendly smart home setups. By breaking down barriers between devices and platforms, they allow you to design automations that are limited only by your imagination.
Start creating your virtual devices today and experience a new level of smart home control.
What important features are we missing? We’d love to hear from you! Join our discussion here.
Bridge smart home platforms and trigger entire scenes across ecosystems with a single virtual switch or button.
Experience real-time monitoring and instant device control from the same screen.
Automate your home climate with the eWeLink Thermo Plugin—smart, simple, and shareable.
With the eWeLink app V5.22, Prime members get higher limits for virtual devices, thermostat plugins, and device sharing.